LED Wall V2 and Illuminated Drums
Ever wondered how to build a midi-triggered wall of 1000 LEDs? Or put LEDs inside electronic drums? You’ve found the right place! I’ll walk you through my experience of building this setup.
Here is the condensed video version of my guide. Continue reading to see the same info explained a little bit more detail.
To see more of my videos of my setup, check out my TikTok or YouTube
Prologue: The Equipment
Wall LED Strips: WS2815 12V (30 LEDs/meter)
Wall LED Controller: LeDMX4 Max
Power Supply: DC 12V Power Supply 40A AC 96V-240V
Drum LED Strips: WS2815 12V (60 LEDs/meter)
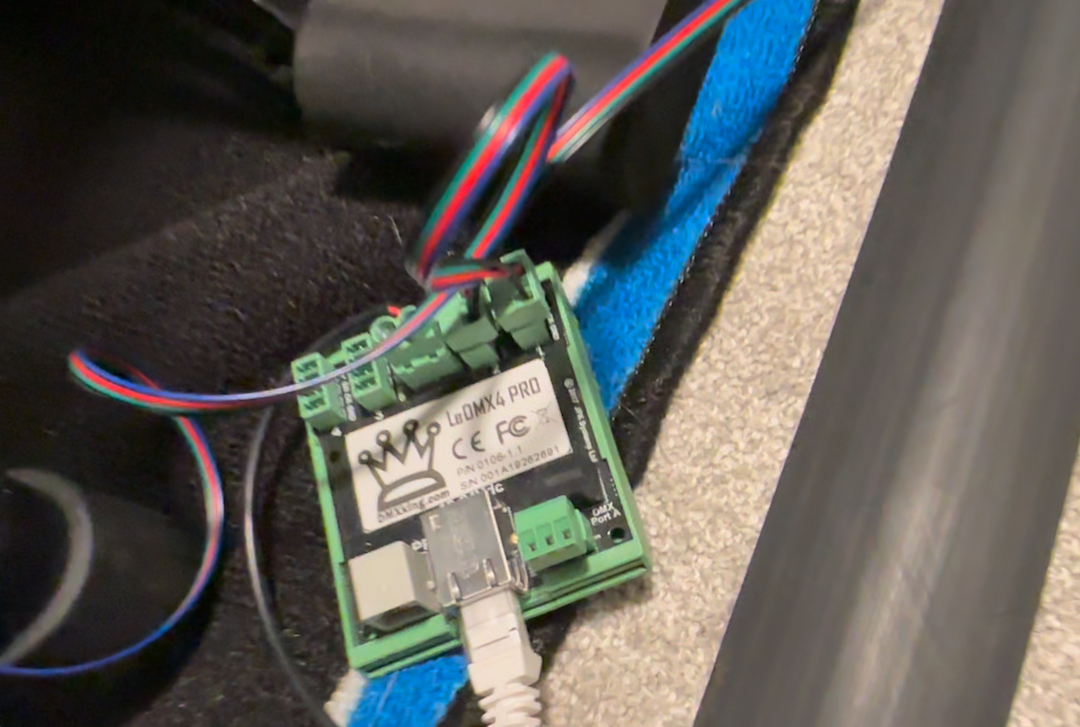
Drum LED Controller: LeDMX4 Pro
Power Supply: DC 12V 96W
Soldering iron
Spare wire
4-pin connectors
Connectors
For the frame:
A pack of a bunch of 8ft long white PVC trim “bars”
Software:
QLC+
eDMX Configuration Utliity
Drums:
Roland TD-27KV
MIDI to USB converter
I. The Genesis
I had seen a couple other vdrum / edrum users out on the internet that had wired up some flashy lights to their kits. I’ve been user and fan of Roland electronic kits for many years, and after seeing this idea of LEDs inside of & triggered by an electronic kit, it was forever stuck in my head… I want this! How can I achieve it?…
One inspiration was a Twitch streamer called Flewp,
https://www.twitch.tv/flewp
https://www.youtube.com/@Flewp
But I don’t think I ever saw any details on how he built his setup. And he doesn’t seem active on the internet anymore.
The 2nd was this YouTube video I stumbled upon from James Ballard:
https://www.youtube.com/watch?v=wcWEaIZVdHY
I left a comment a couple years ago asking for more info on how he did it, but I never heard back.
Unfortunately I never really found any good guides or write-ups on how to do such a drum LED project. So it sat on the back burner for a while…
II. Dipping the toes
Eventually I starting doing some more research into LEDs and LED strips, and various different controllers. I bought some LED strips, hooked them up to some wifi controllers, and mounted them on the wall behind my drum set.
Cool, some flashy lights! But there’s nothing in sync about this… the controllers I was using had some crude microphone-driven modes, but these were never going to unlock the level of control and sync I was envisioning.
So I continued my research journey (repeatedly web searching) for phrases like “midi controlled LEDs”. I figured, since my drum kit is already sending midi signals out of it, and it’s already hooked up and sending those MIDI signals to my computer (I use Superior Drummer software for drum samples, rather than the sounds in my Roland kit’s controller), it would probably be ideal if I could drive the lights from those very same MIDI signals.
My searches were eventually successful. There ended up being a few things that really unlocked the “MIDI controlled LED strips” concept I was aiming for. The first is the concept of “DMX” controlled lighting. The second was a hardware component from DMXKing called the LeDMX4 Pro. This device connects to addressable LED strips and can send DMX control commands to them via an ethernet connection. Lastly, I discovered the free and open source application called QLC+. This powerful program allows configuration of different lighting scenes and animations. It also supports MIDI signals as an input mechanism. This is ultimately the holy grail I had been searching for. Now, I have the tools I need to set up lighting effects that can be triggered from MIDI notes coming from my drum kit.
The first iteration of my LED wall involved just 4 strips I set up on the wall behind my kit. I set up a variety of different lighting scenes in QLC+ and configured them to be triggered by all the different notes that my drum kit could send. I finally had MIDI controlled lights! I used this setup for a while, doing some live streaming on reddit’s /r/redditsessions playing along to tracks in Clone Hero, and making some content on TikTok.
Ok, cool, but we’re not quite there yet. The original goal was primarily about LEDs inside the drums. So eventually, I decided to upgrade. Not only would I add LEDs inside the drums, but I’d also take a swing at a bigger, badder LED wall v2.
III. Turn it up to eleven
A. The Wall V2
This next part of the project took research, planning, and a bunch of DIY crafting/building. There were two new goals at this stage: LED illuminated drums, and bigger LED wall. We’ll start by going through the wall.
I began by researching LEDs and LED strip types. I eventually settled on the WS2815 strip. This provides individually addressable LEDs, with a controller chip per each LED. This is an upgrade over the WS2811 strips I had used previously, in which there was an addressable chip per each 3 LEDs, which makes them feel not 100% addressable on a per-pixel level. Ultimately, going with the WS2815s means color changes or gradients can be applied over every single LED instead of blocks of 3 each. The other benefit of the WS2815s is that they have a backup data line. If one LED dies, there is a backup data line, so hopefully just that one LED dies and it doesn’t knock out every LED after that. These strips are also 12 volt, which has an advantage over the 5v variants in that it is not as susceptible to color/brightness degradation due to voltage drop. Voltage drop is still an issue, and I’ll discuss that a bit more later, but with 12v you can do slightly longer strip runs before you’ll notice the voltage drop in comparison to 5v strips.
With the LED strip type selected, I had to determine the power requirements. The WS2815 is listed as using 0.3W per LED when all channels (RGB) are at max brightness. I decided to target 1000 LEDs, configured in 20 LED strips with a length providing 50 LEDs on each strip. If the whole wall was cranked to max brightness white, the power consumption calculates to 300 watts. Based on something called the 80/20 rule, the power supply should be able to supply enough wattage so that the max usage expected does not exceed 80% of what it is rated for. Or something like that… anyway I settled on a 480W power supply to ensure there is more than enough for the job.
I also determined I would need a new controller to support these 1000 LEDs. I would use the existing controller that I had, the LeDMX4 Pro, to drive the drum LEDs, and I decided to get the newer/more capable LeDMX4 Max for the LED Wall. There’s a world where I maybe could have used a single controller, but it would have made the wiring and some of the configuration more complex.
With my components selected, I ordered some gear. Here are some of the new parts after their arrival:
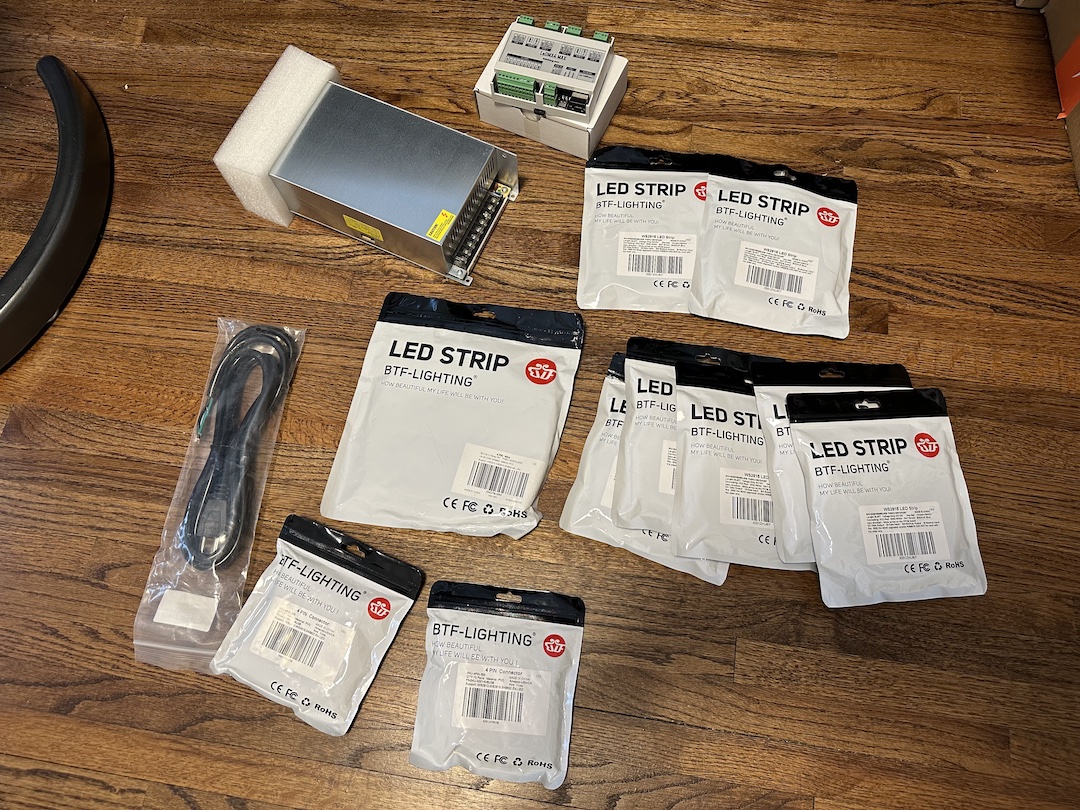
The LED strips came in rolls of 150 LEDs each. I wanted 20 strips of 50 each to make my wall of 1000, so I had to cut the strips into 50 LED segments, and then solder wiring between each segment until I had 20 strips all connected in series.
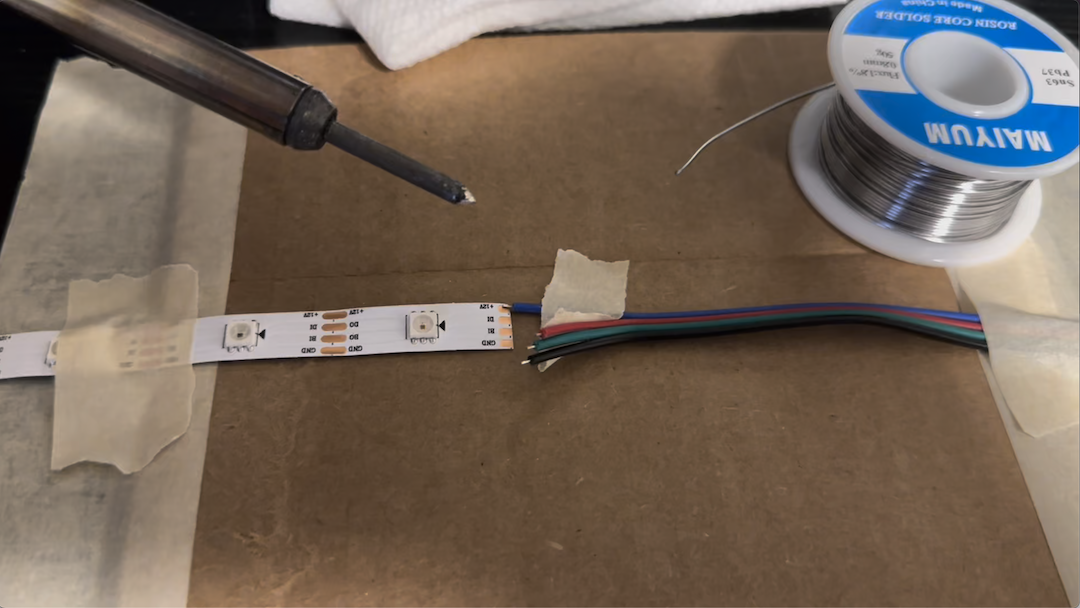
At a couple points I paused and plugged in the lights to quickly test that my soldering was working successfully, but thankfully I never really ran into any trouble. I made sure to add some heat shrink tubing on each connection that I would seal up later once everything was confirmed to be working. I wired it up to the controller for some early testing but I’ll circle back on that part in a bit.
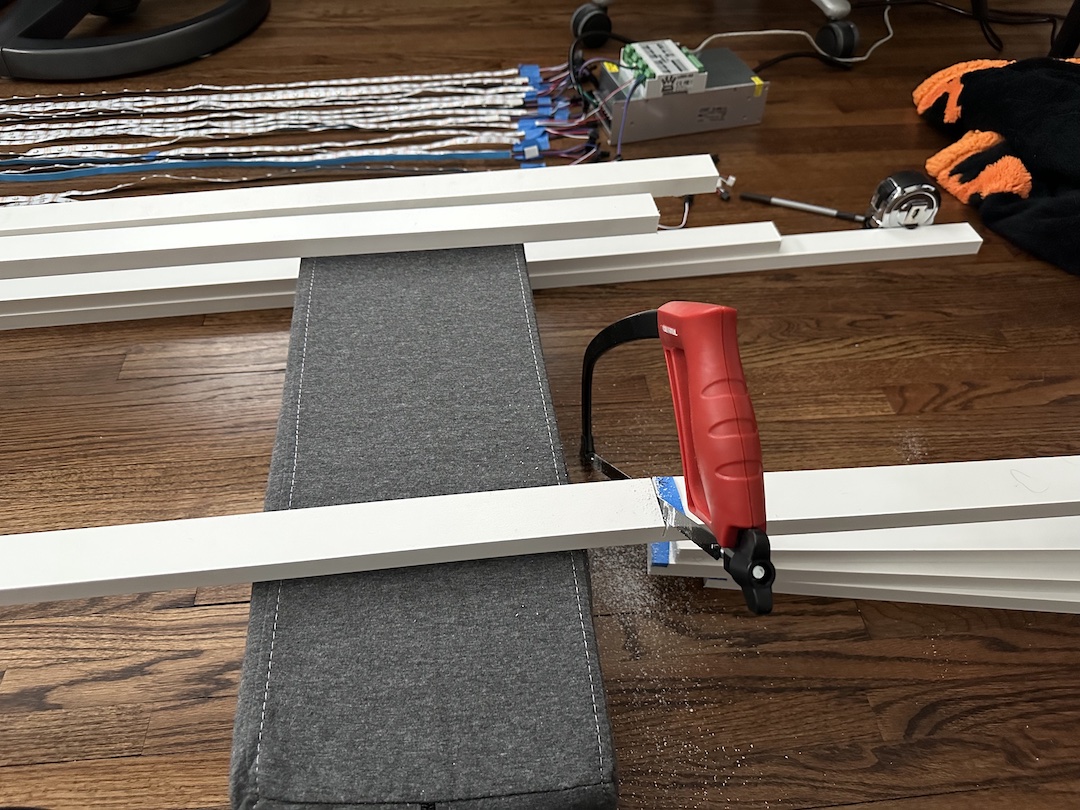
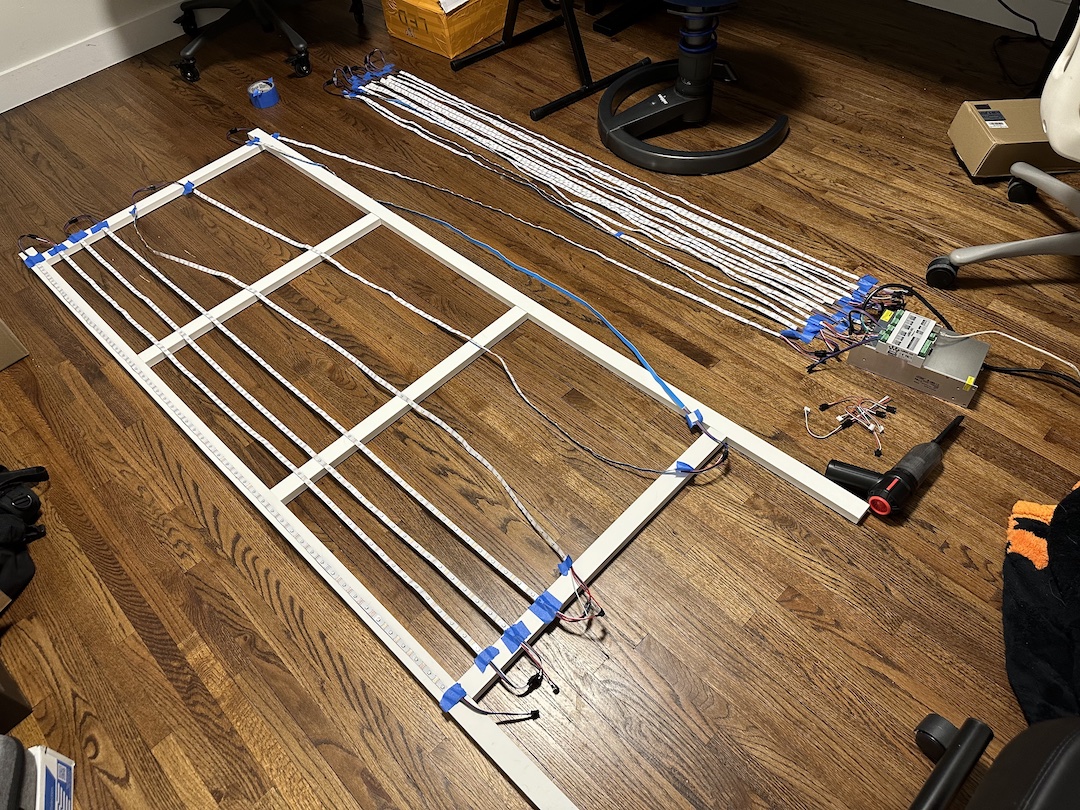
Once I had all the segments connected, I moved on to constructing the frame. I decided I wanted a separate thing to attach the LED strips to, instead of sticking them directly to the wall. That way if I ever wanted to move it or use it elsewhere, it is at least partially mobile. Although the frame is a bit cumbersome and awkward to move. I utilized some white plastic trim / PVC beams that I ordered from Home Depot as the frame. I sketched out a structure with two halves and cut down some segments from the 8ft long trim pieces.
Then I began to attach the LED strips in a snaking pattern up and down along the frame.
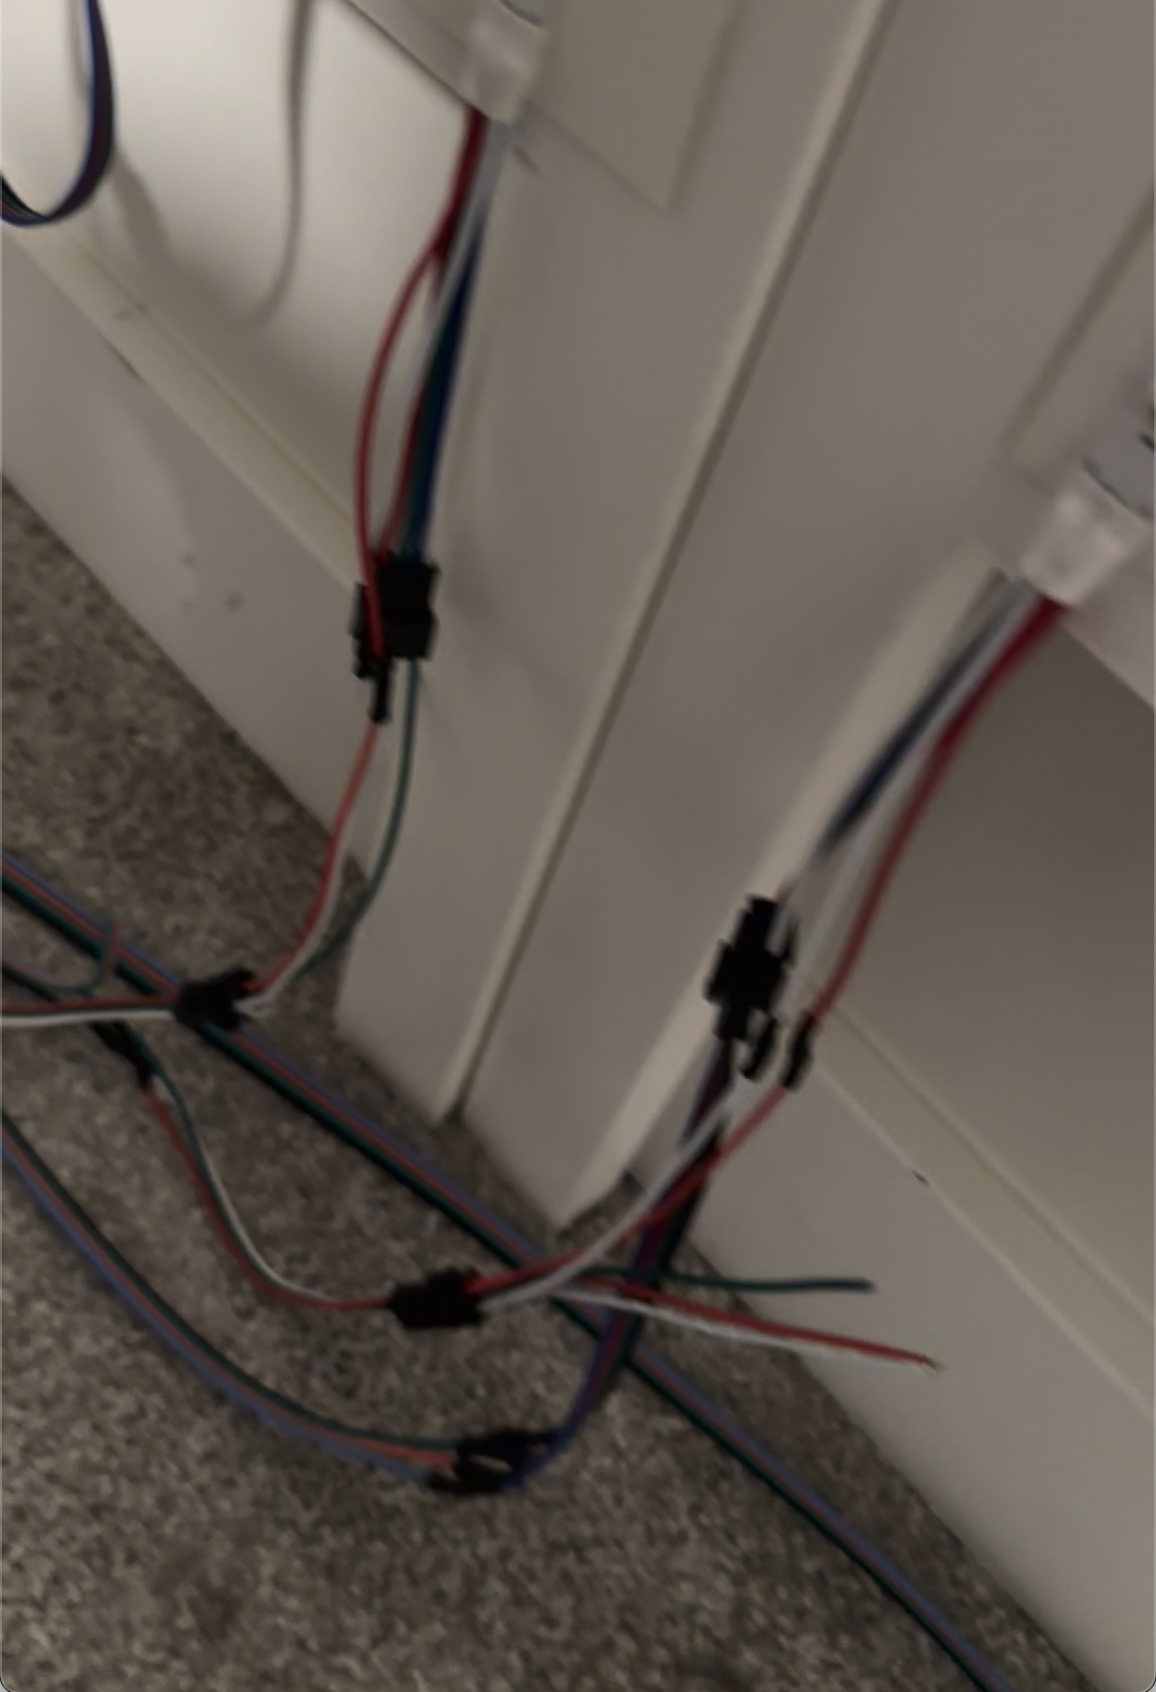
With frame construction complete, it was time to finalize the wiring to the controller. At this point, I also had to add some power injection. The LED strips, especially with longer runs, will eventually suffer from voltage drop. The further along the strip from the power supply source, the lower the voltage starts to get. Eventually this causes visual degradation. The brightness starts to dim a bit, and colors may not look as good as they do at the start of the run near the power supply. The solution is to inject power at several points along this circuit to maintain the voltage throughout the LED strip. This picture isn’t great but here are a couple of the power injection points:
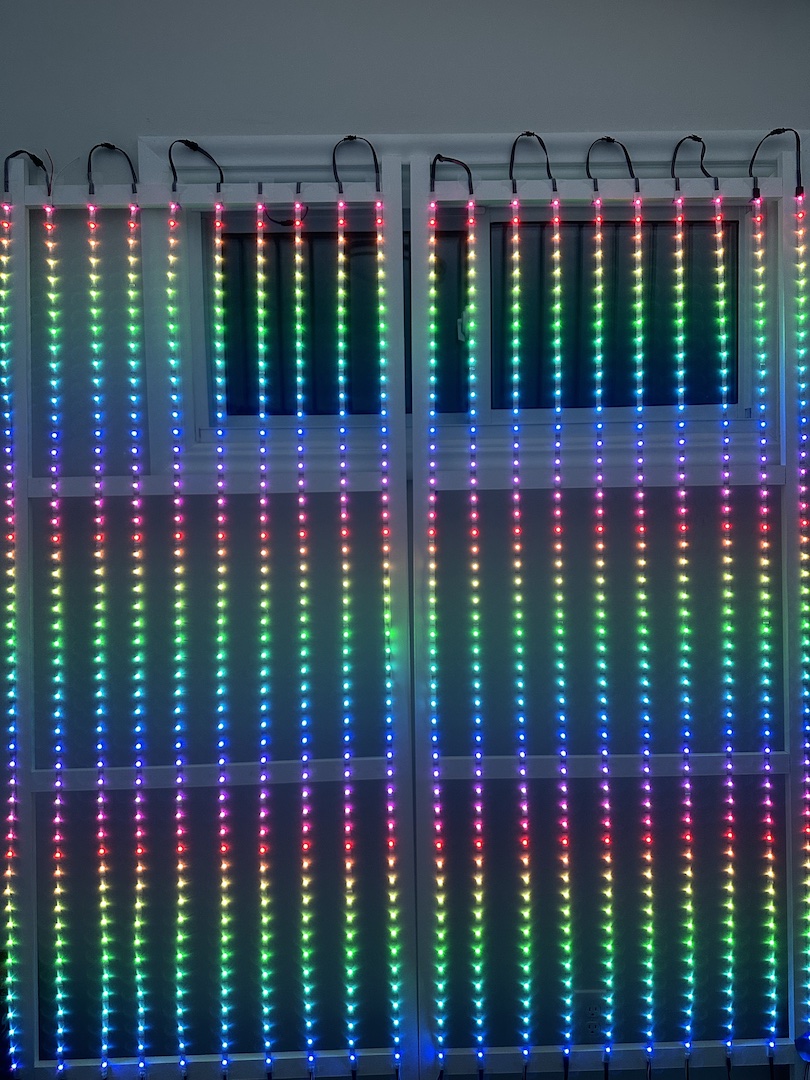
Now with solid voltage throughout, we have consistent brightness and color.
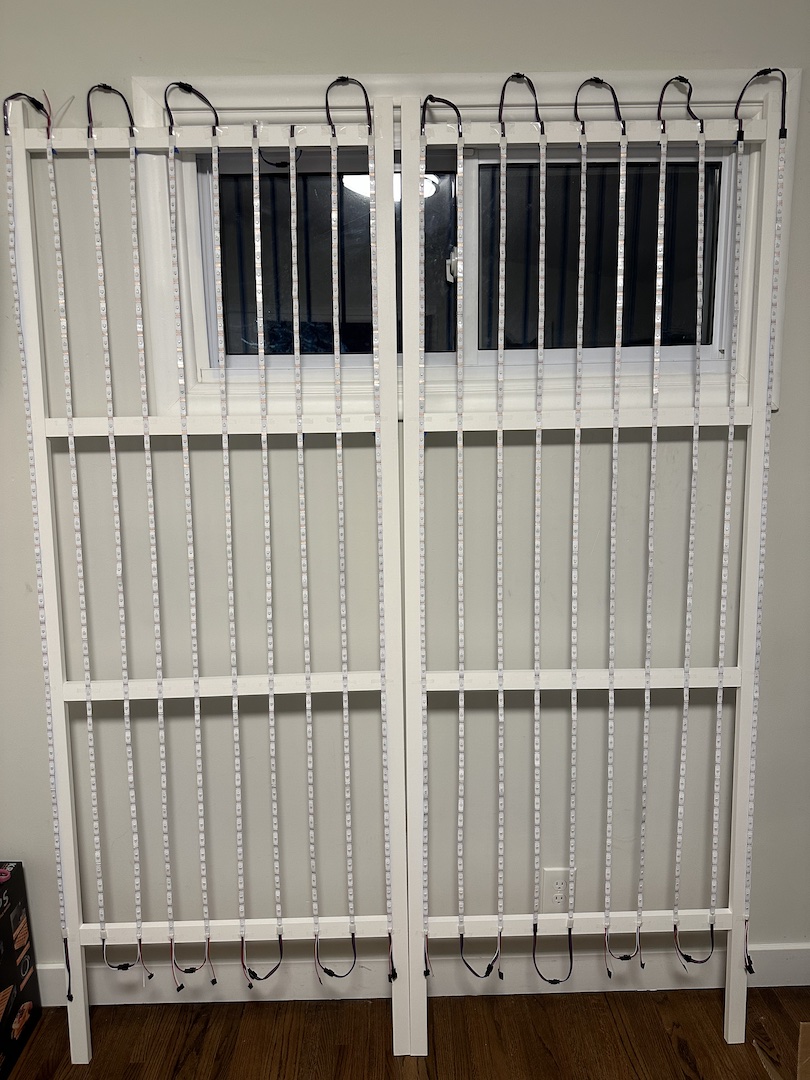
I then migrated this thing down to my drum room, the wall was just about done. I later added some white tagboard panels between the frame and the strips for a more consistent look, and to give the sticky side of the strips something to attach to. I removed the plastic off the back of each strip to expose the adhesive layer and stuck it down to the tagboard.
One more shot showing the wiring to the controller and power supply:
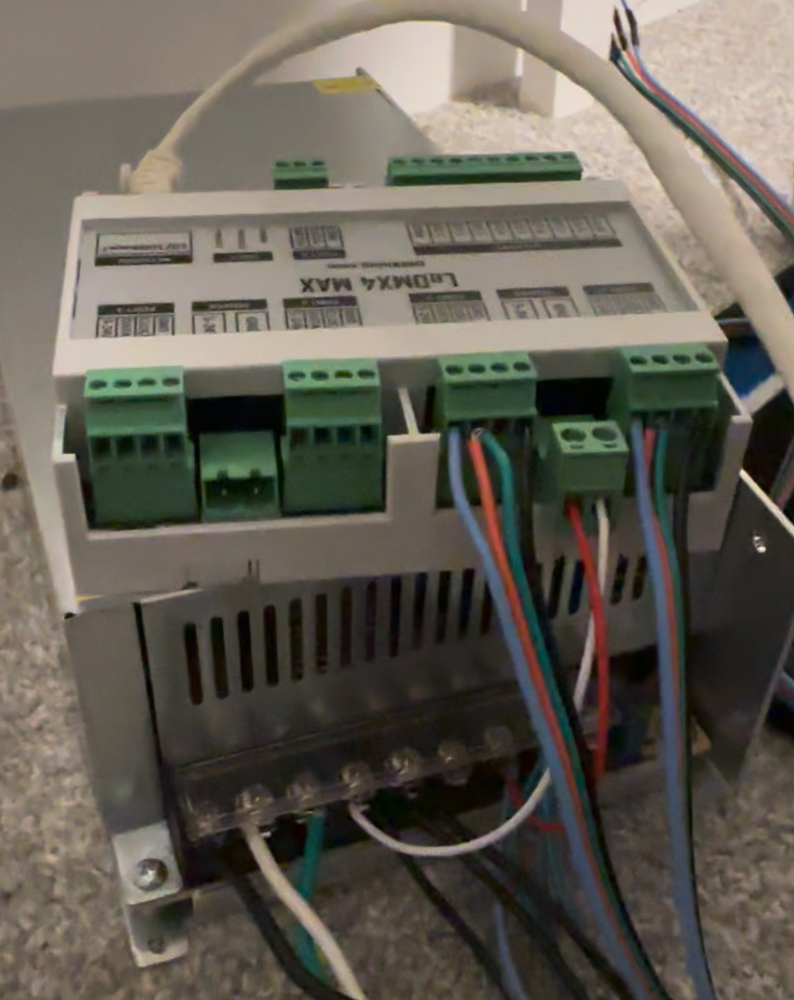
There is a small bit of configuration needed on the controller that is done through the eDMX configuration utility program. Each output has to span multiple DMX “Universes”, as each universe can only contain addresses for 512 RGB LEDs. I believe I assigned output 1 to universes 1-4, and output 2 to universes 5-8. This info is later needed when configuring the universes and light fixtures in QLC+.
Now the LED Wall v2 is done. We can move on to the illuminated drums.
B. The Illuminated Drums
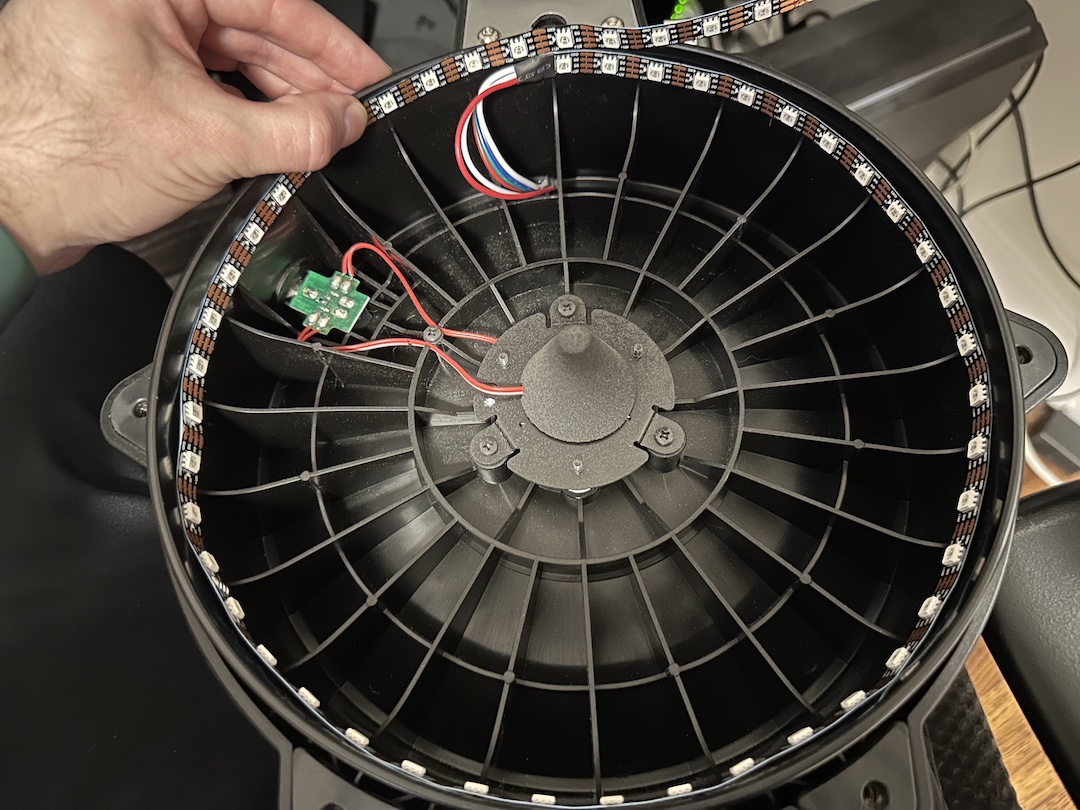
For the drums I ended up choosing the same WS2815 LED strip, but with a higher LED density. This means more LEDs are packed in per foot of LED strip, which I figured would look nicer and brighter within the drums. I did some measuring of the LED strips and determined I could fit 60 LEDs in the snare drum, and 45 in each of the toms. I did a bit of soldering prep so that I had segments for each drum with wiring coming off of each end. The next puzzle was figuring out how to fit the LEDs in the drums and be able to route the wiring out of them. I started by removing the drum heads and figuring out where the LED strips would go. Here is a look inside one of the toms on my Roland TD-27KVS kit.
Ok, a decent spot around the edge for the LED strip to fit. But how on Earth will I get the wiring out of here? The plastic drum shell is pretty much entirely sealed. The only entry/exit point is already used by the 1/4″ jack component. This was a puzzle. I thought through options. The plastic is rather thick in most places and I was unsure how easy it would be to drill a hole right through it. Ultimately I decided the thinnest plastic point right near where the hole for the jack already is would be the simplest spot to punch another hole through. I grabbed my drill and said goodbye to any sort of warranty I had on these drums… but LIGHT UP LED DRUMS? Worth it.
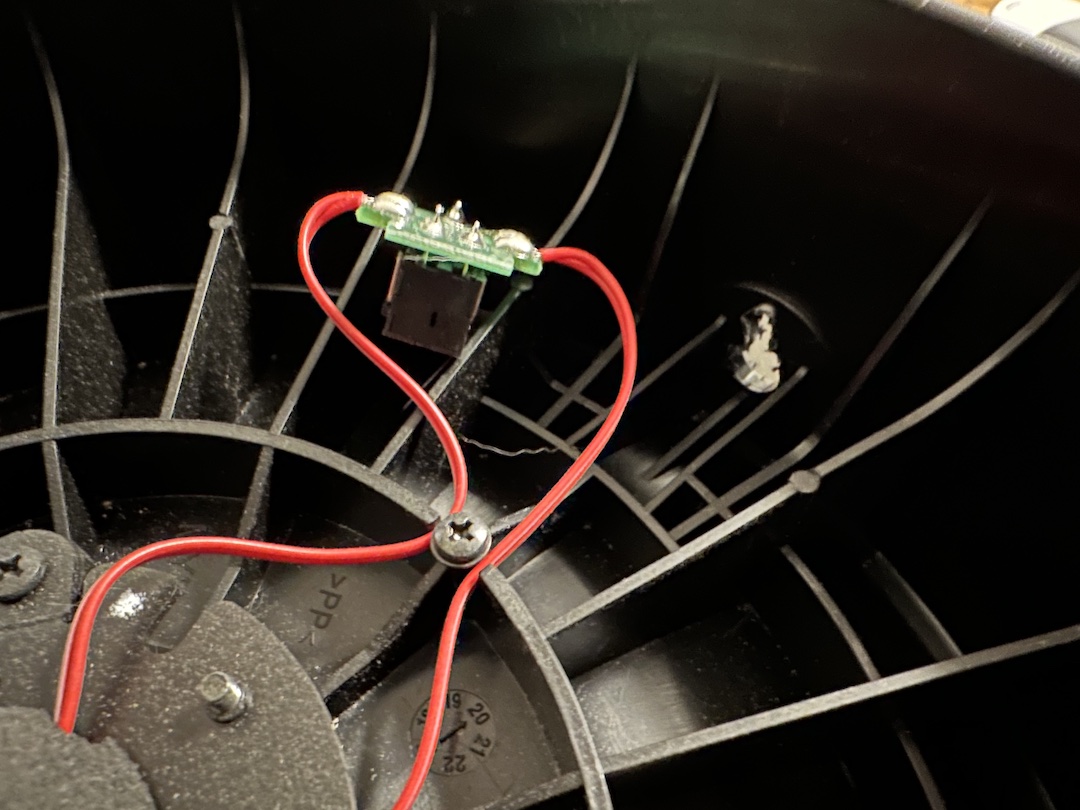
A little tricky to see, but I moved the jack component out of the way and used the drill to punch a hole along side the existing hole used for the jack entry. This is a bit janky and does mean the jack is no longer securely seated & screwed tight into place. I had minor concern over this, but ultimately it was the easiest point of entry to punch another hole. I’m sure you could choose a different spot if you preferred but this is just what I went with and it ended up working out just fine. I then stuff the LED’s wiring through this hole, and put the jack component back into place, and with both of those things kinda jammed through together, its a fairly snug fit and they don’t really move much. I didn’t replace the nut that locks down the jack, I don’t think it will really fit any more, but it remains snug anyway.
The snare was a bit different, but unfortunately I didn’t capture good photos of it during the process, and I don’t want to take it apart again. Its Roland’s digital snare, and it has a big bucket piece that sits inside and is a bit different than the toms. That bucket does have some gaps though, and I was able to leverage an existing gap that it had to sneak the wiring through it.
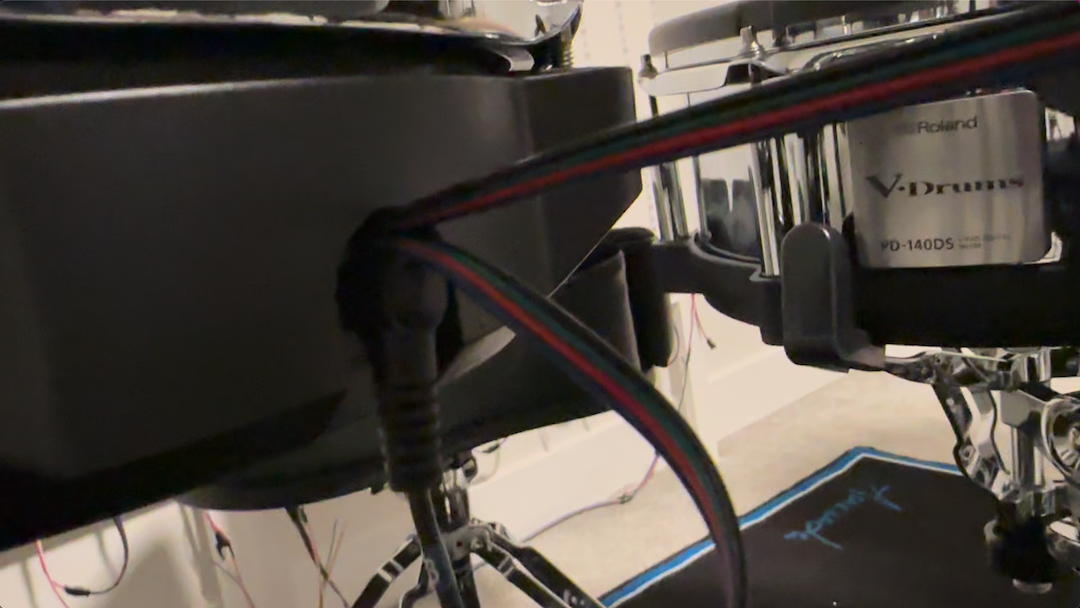
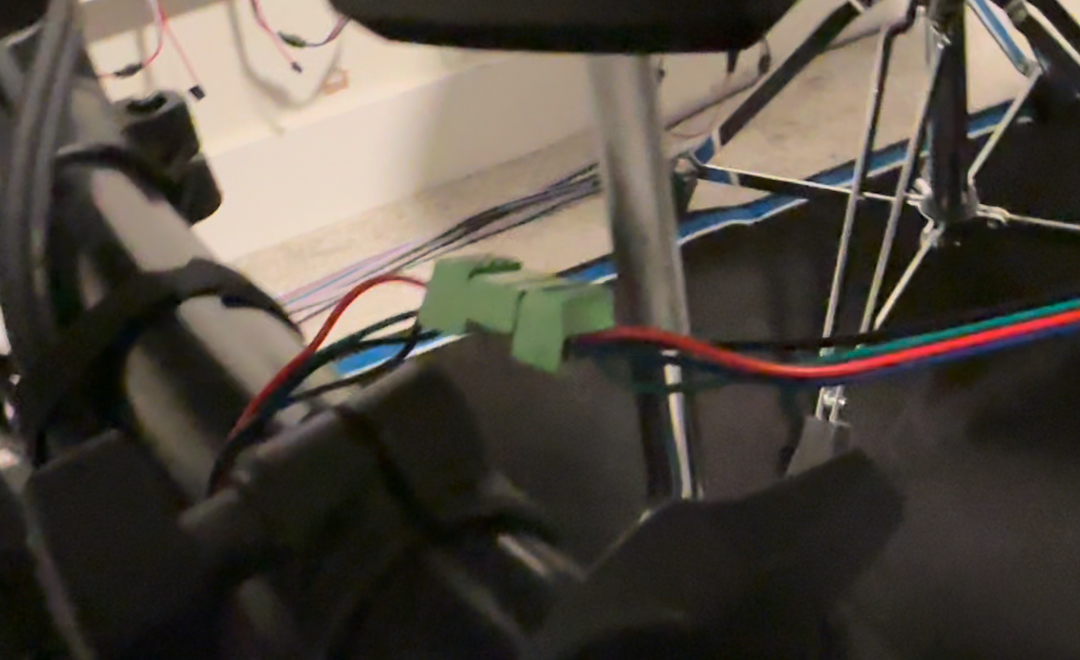
Here’s a look at some wiring exiting a tom drum alongside the jack:
Now that I had the LEDs inside the drums, and the wiring successfully exiting the drums, I just had to finish wiring things up. I used a couple different kinds of connectors based on stuff I had on hand. You could definitely do this more elegantly. But at this point, I’m antsy, I just want to be done with this and move on to playing with some LED drums…
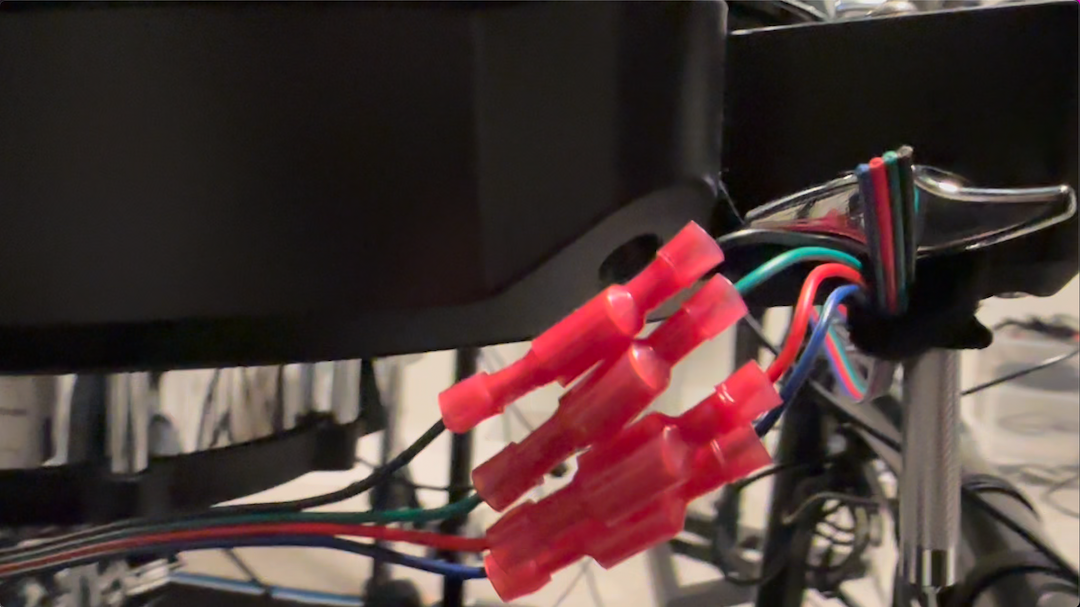
I wired the snare and high tom together, and connected them to output 1 of the LeDMX4 Pro. Then I wired the middle and low toms together, and connected that to output 2.
Ok, the building and wiring is all pretty much done! Quick test to make sure we’ve got signal on the drum LEDs:
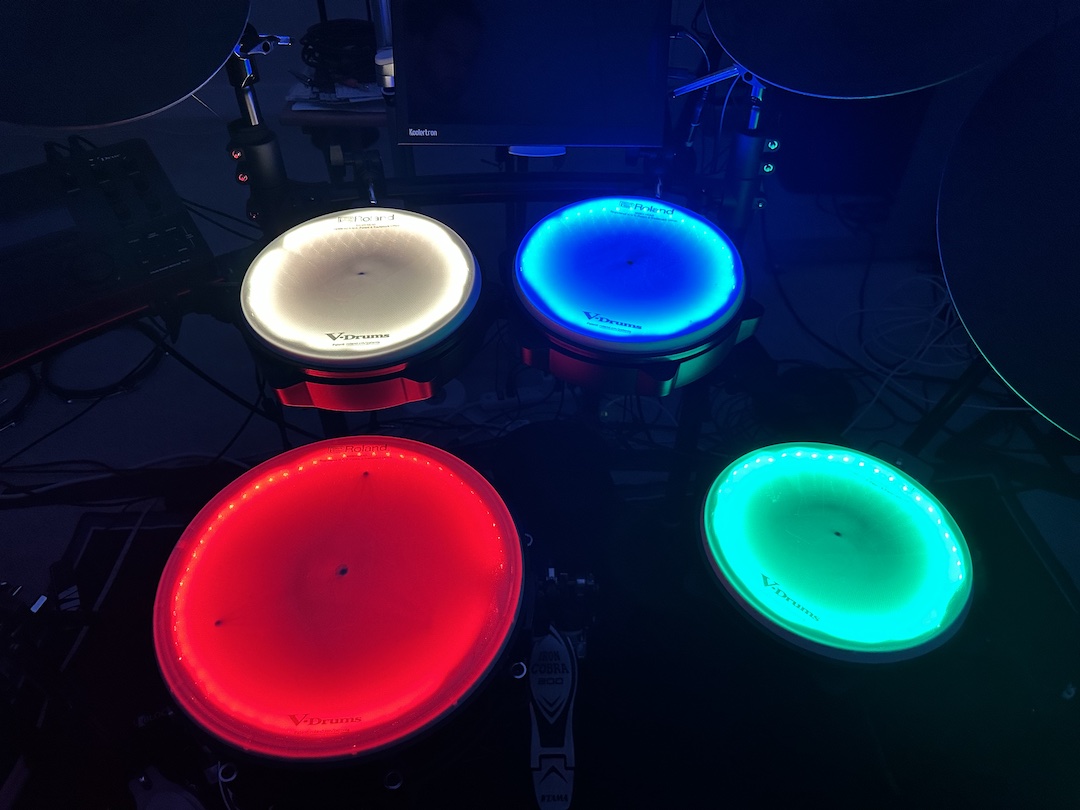
SWEET! Again, these are all addressable LEDs, so we can do much cooler patterns or animations with different colors… but this is just the very first test to make sure they are working.
C. Software Configuration
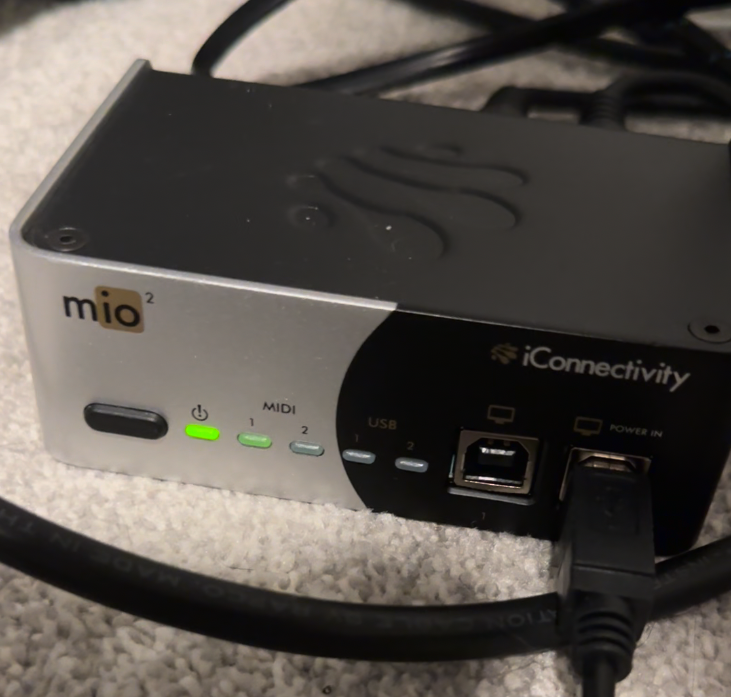
So the construction is done. But there is still a lot more configuration to do in order to get all these lights to do fun stuff and be triggered by MIDI signals. The lights are going to be driven by some software running on my mac called QLC+. In order for the drum signals to be used as inputs, the computer also needs to be connected to the drum’s midi signal. I also use plugins for my drum sounds (Superior Drummer 3 in my case), so I already have my drum’s MIDI connected to the computer via USB through this device called the mio2:
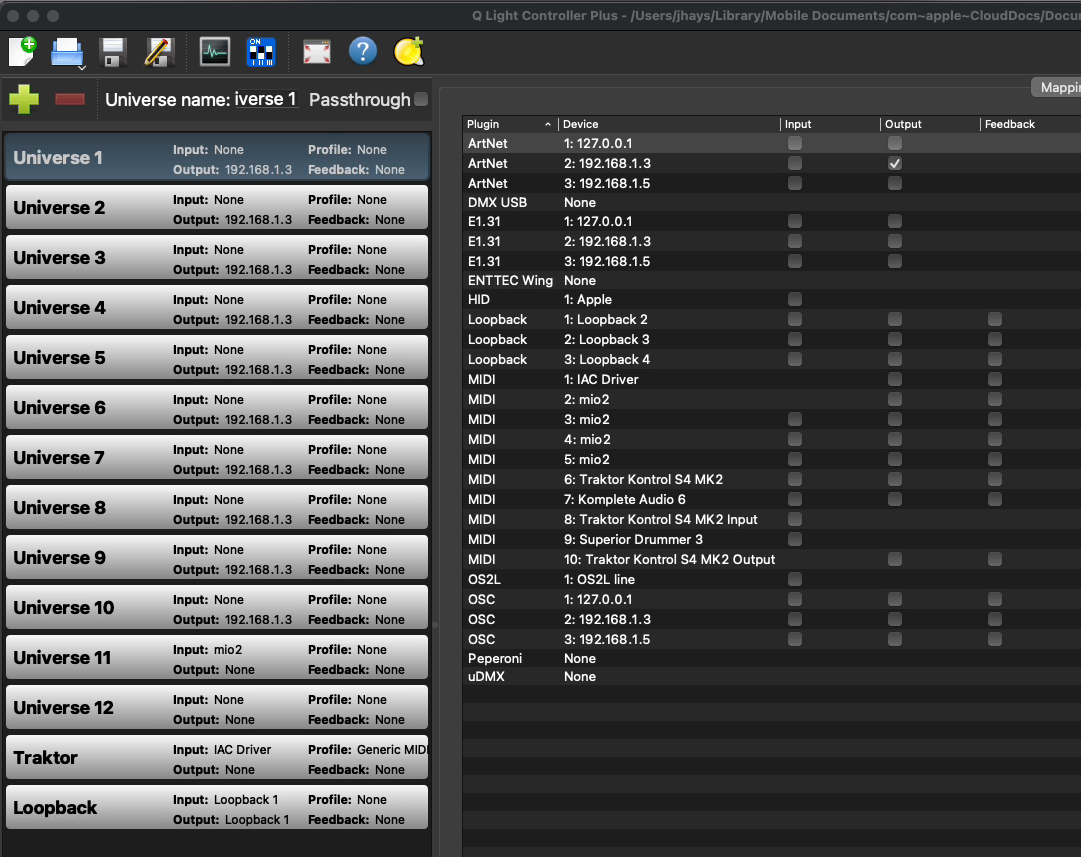
QLC+ is a little bit complex, and I’m not going to go super deep into my configuration here in this post. But here’s a quick look at some of my configuration:
And a small segment of my many scenes and animations:

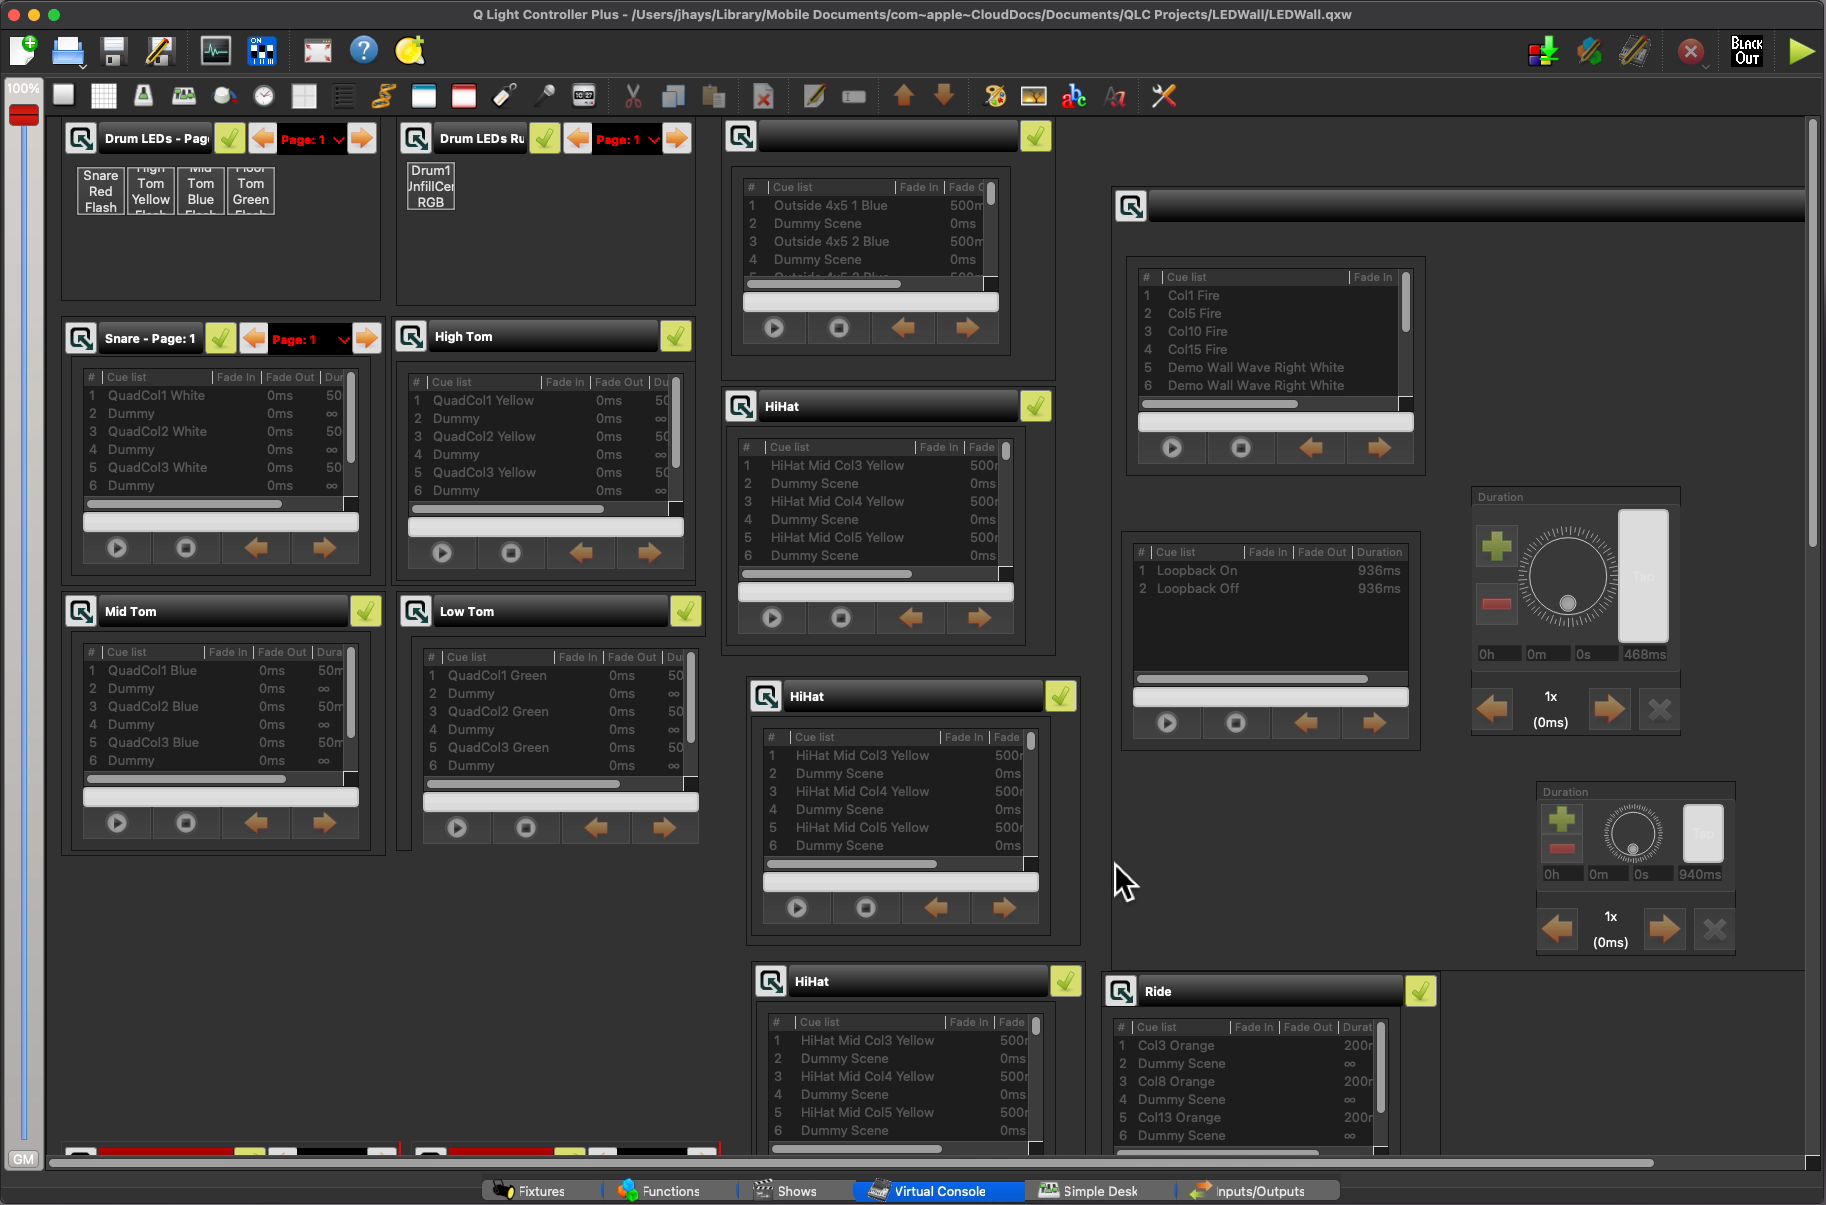
And lastly, the virtual console, which is where the magic happens to wire up MIDI signal as triggers that cause elements called “Chasers” to step through their cues.
There is a lot to QLC+ and it is super powerful. There is a good forum on the website that I’ve gone to for research and to ask some questions.
Not only can I configure MIDI triggered lighting effects, but QLC+ can also set up “shows” driven by timers or bpm counters, which allows me to (tediously) set up cool song-specific light shows like this one:
If you’ve made this far, thanks for reading! If you’re on a journey of configuring MIDI controlled LEDs, I hope this post was able to help you. If you have any questions feel free to reach out and I’ll do what I can to help. ✌️🤙